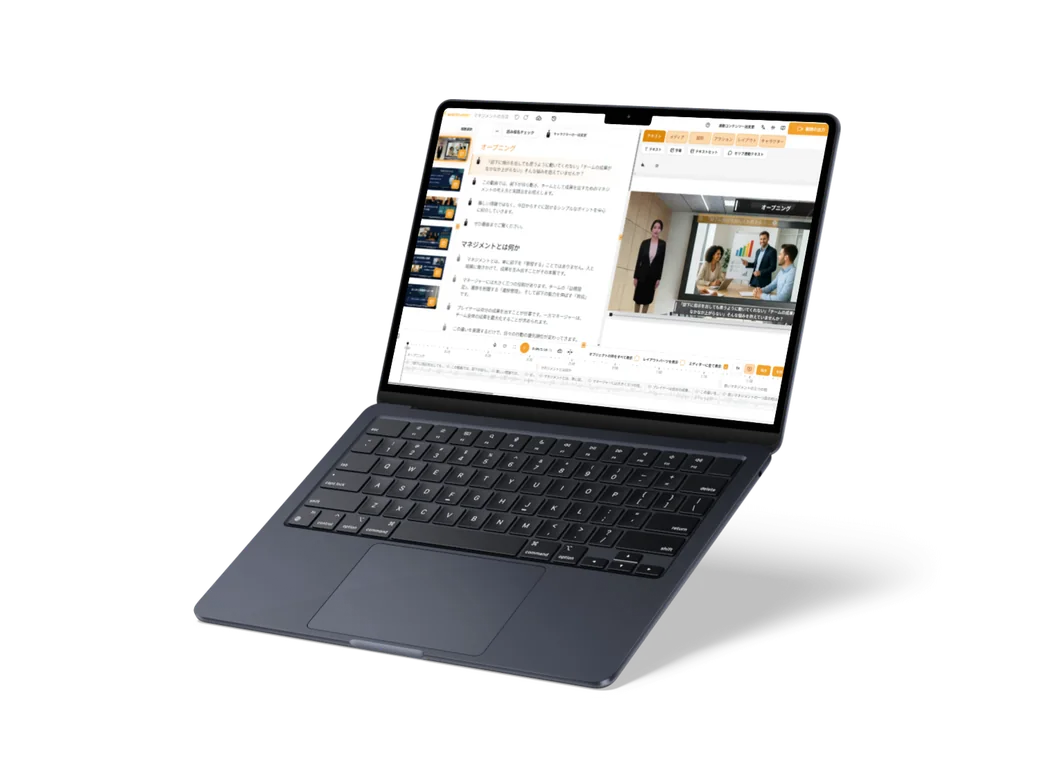
Guides & tipsUpdated
[Screen tour] The WriteVideo editor: refine your video as you would in Word or PowerPoint
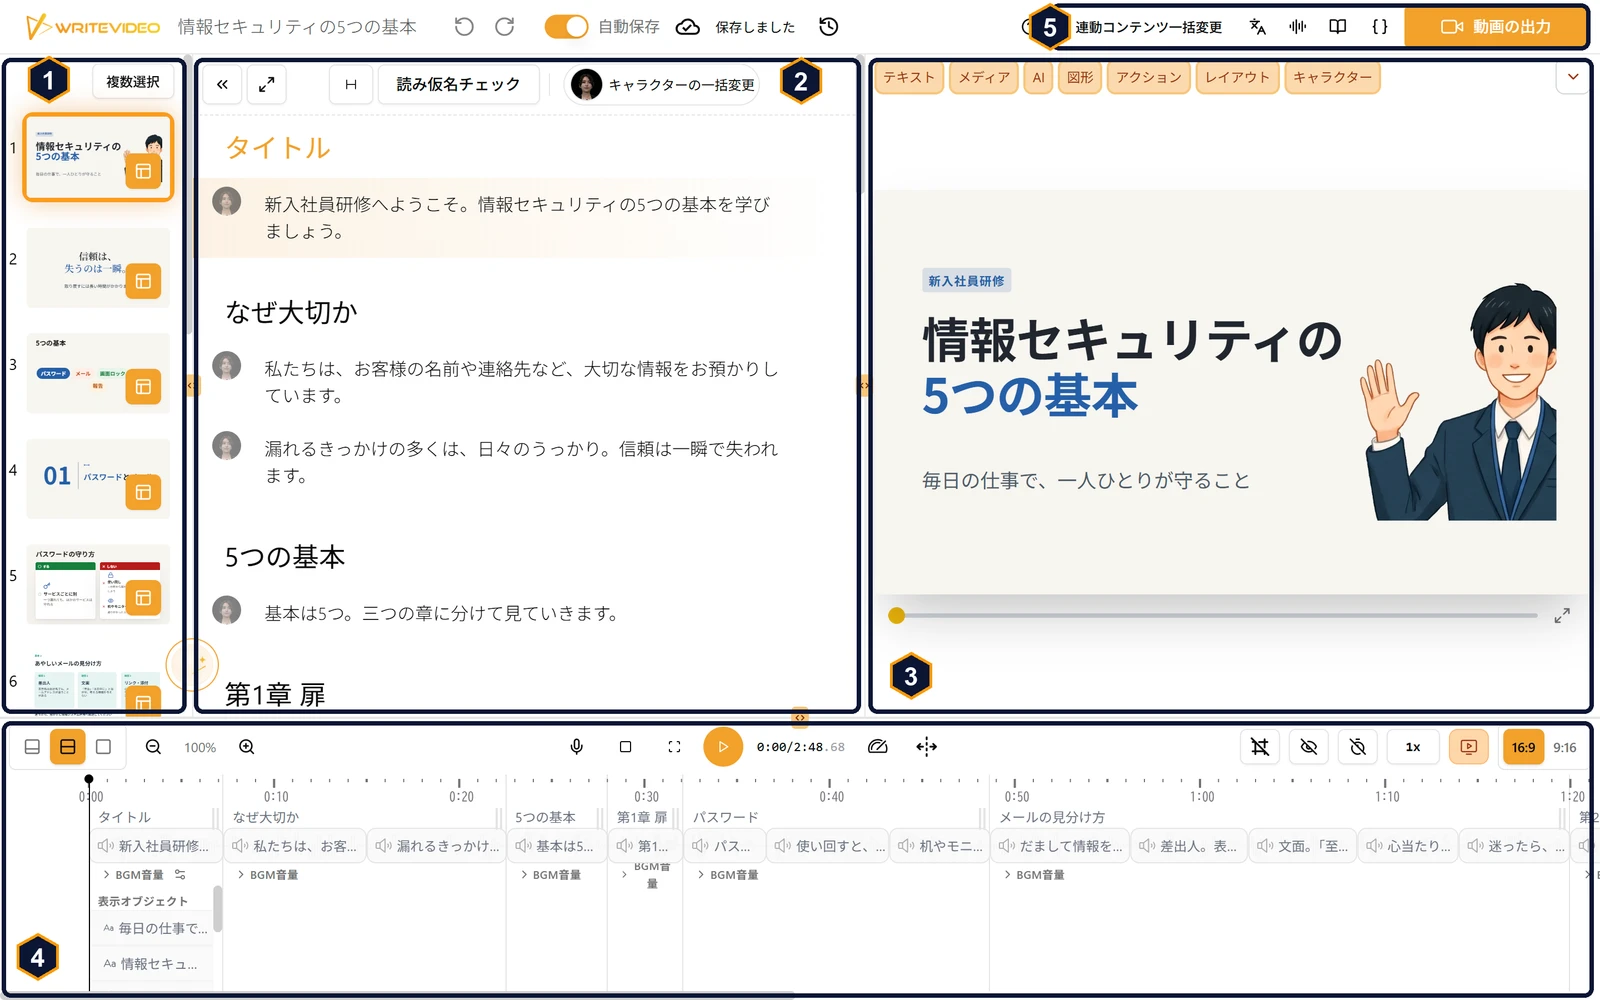
The WriteVideo editor is made up of 5 areas. Knowing in advance what you do where makes it easier to find your way, even the first time.
We have numbered the screen and go around it in order, starting from the left.
1. A map of the editor
| No. | Area | What you do there |
|---|---|---|
| ① | Left | The list of scenes (slides). Choose a scene |
| ② | Center | The script. Revise the lines as text |
| ③ | Right | The preview of the screen, and 7 tabs to choose what goes on it |
| ④ | Bottom | The timeline. See chapters and lines in time order |
| ⑤ | Top bar | Screen settings for each line, and "Export video" (動画の出力) |
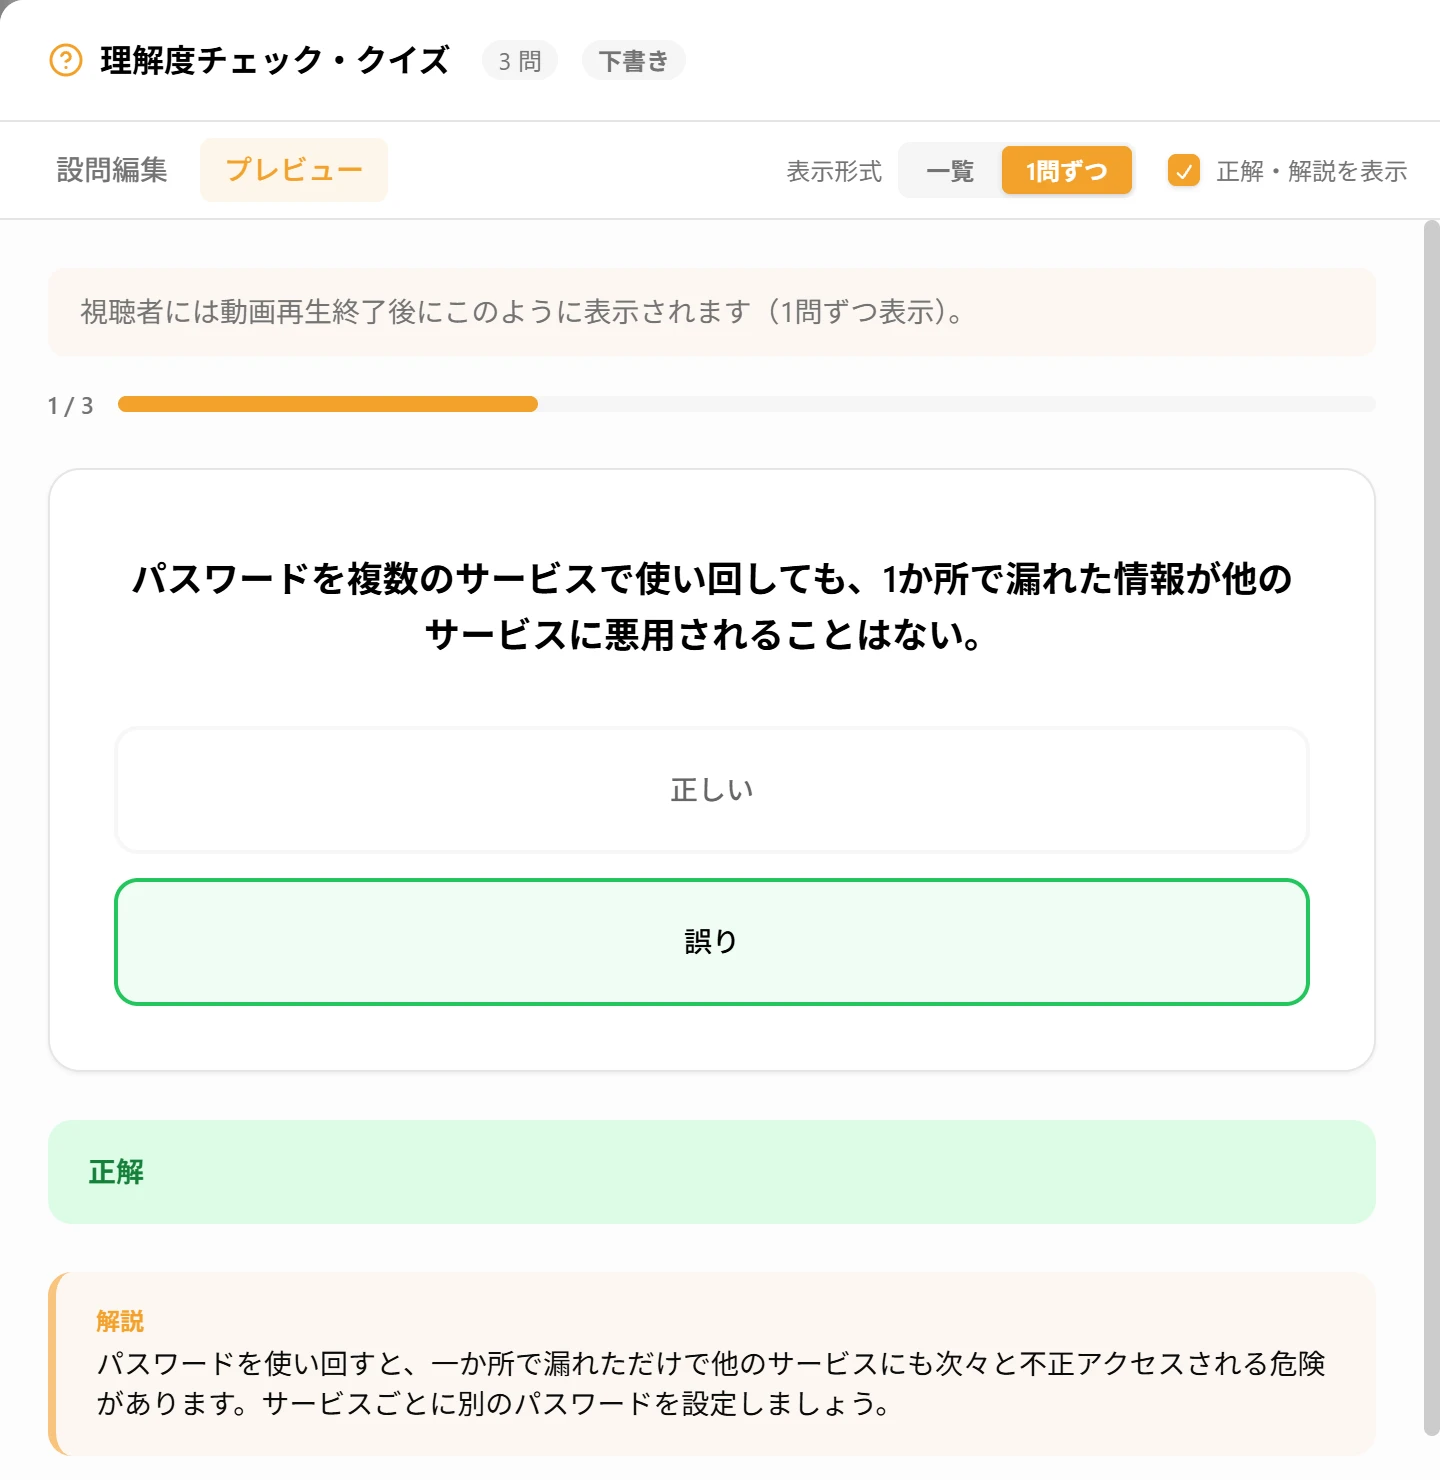
If you are not sure where to start, start with the script in ②. Just revising the text changes what is in the video. The first time you open the editor, a 5-step guide also walks you through it, pointing to each area.
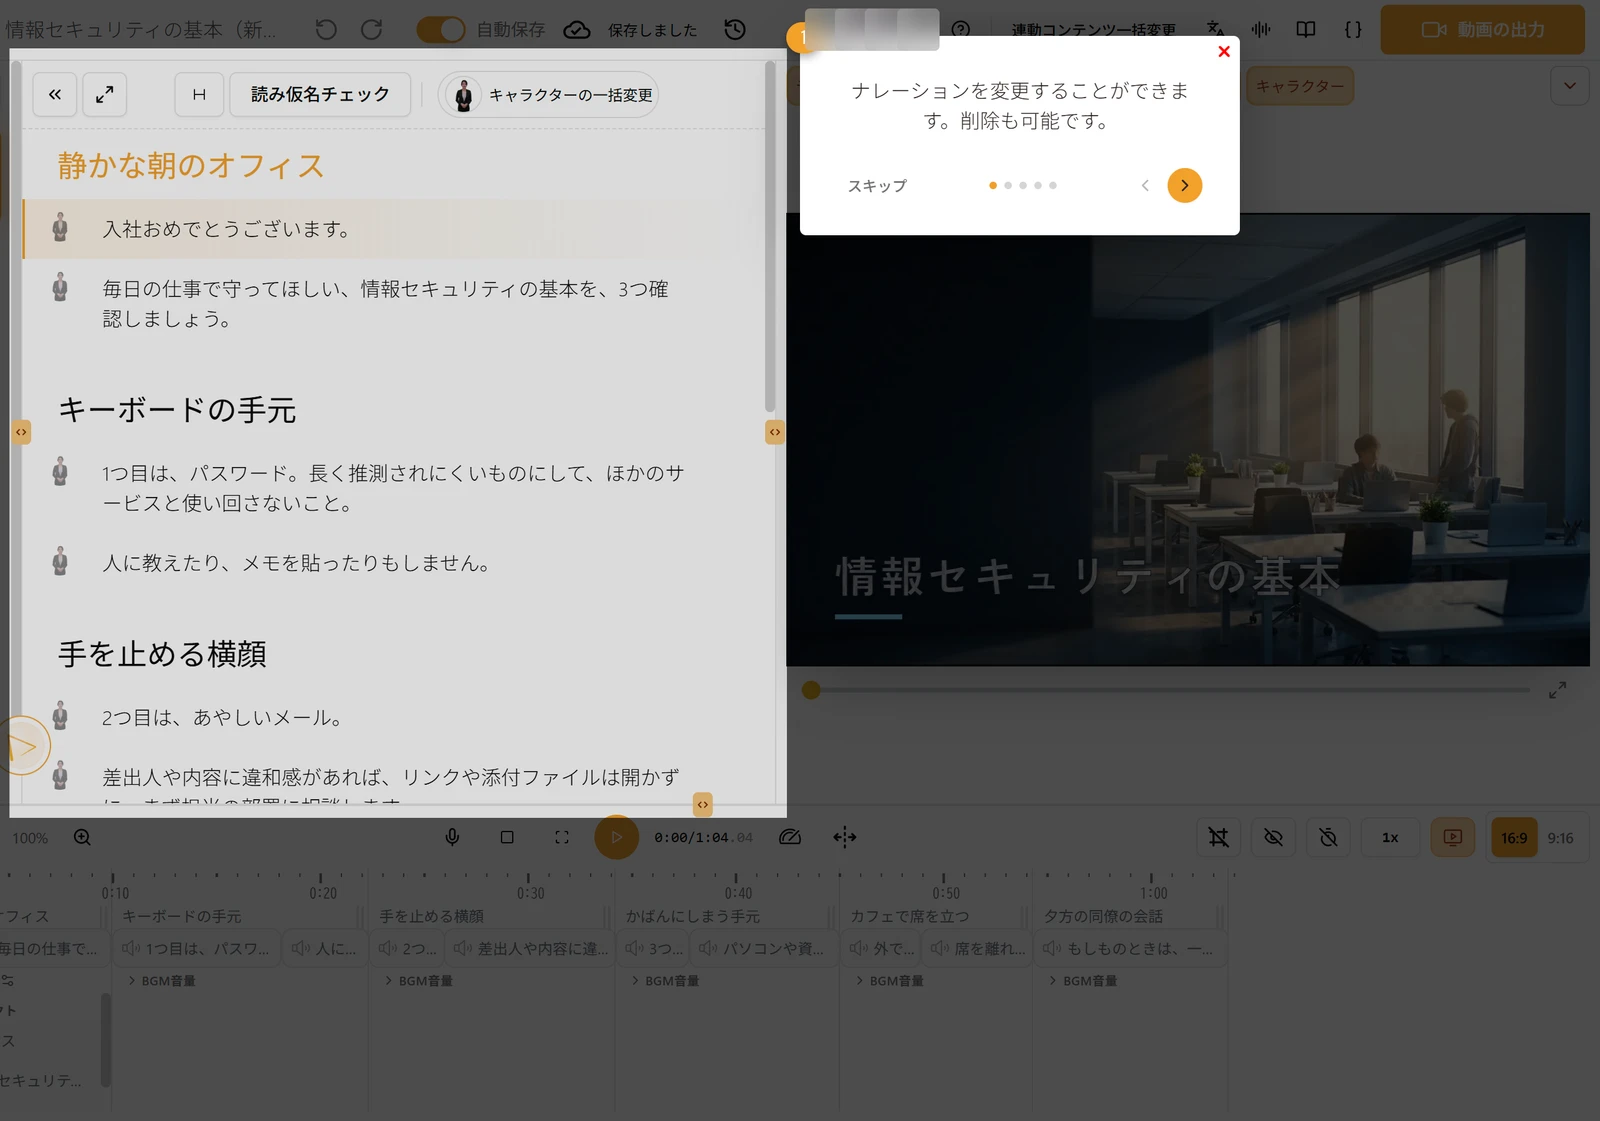
2. ① Left and ② center: choose a scene and revise the script
In ②, the lines of every scene are listed scene by scene, one sentence to a line. Revise the text of a line, and both the subtitles and the line the character speaks change. Drag a thumbnail in ① to move it, and the order in ② and ④ changes with it.
In the recording below, rewriting one line in ② turns the subtitle bar at the bottom of the screen in ③ into the new sentence.
- "Pronunciation check" (読み仮名チェック): from the button above ②, check the readings of all the lines at once
- Switching presenters: change the presenter character for each line
- Asking in the chat: when you want to change the wording, ask the AI in writing
3. ③ Right, ④ bottom and ⑤ top bar: build the screen, check it and deliver it
From the tabs in ③, choose what goes on the screen.
- "Media" (メディア): your own images, or photos and videos from stock media sites
- "AI": make images, diagrams and videos with AI
- "Shapes" (図形): shapes and tables, and charts whose numbers you can edit in a table
- "Actions" (アクション): forms, AI chat, links and tables of contents. On the Corporate plan, comprehension quizzes too
- "Layout" (レイアウト): apply the layout you chose to all chapters at once
On the timeline in ④, you see the chapters and lines in time order, and play them back to check. Press "Change linked content in bulk" (連動コンテンツ一括変更) in ⑤, and a window opens listing all the lines, where you can decide which image to show on screen for each line.
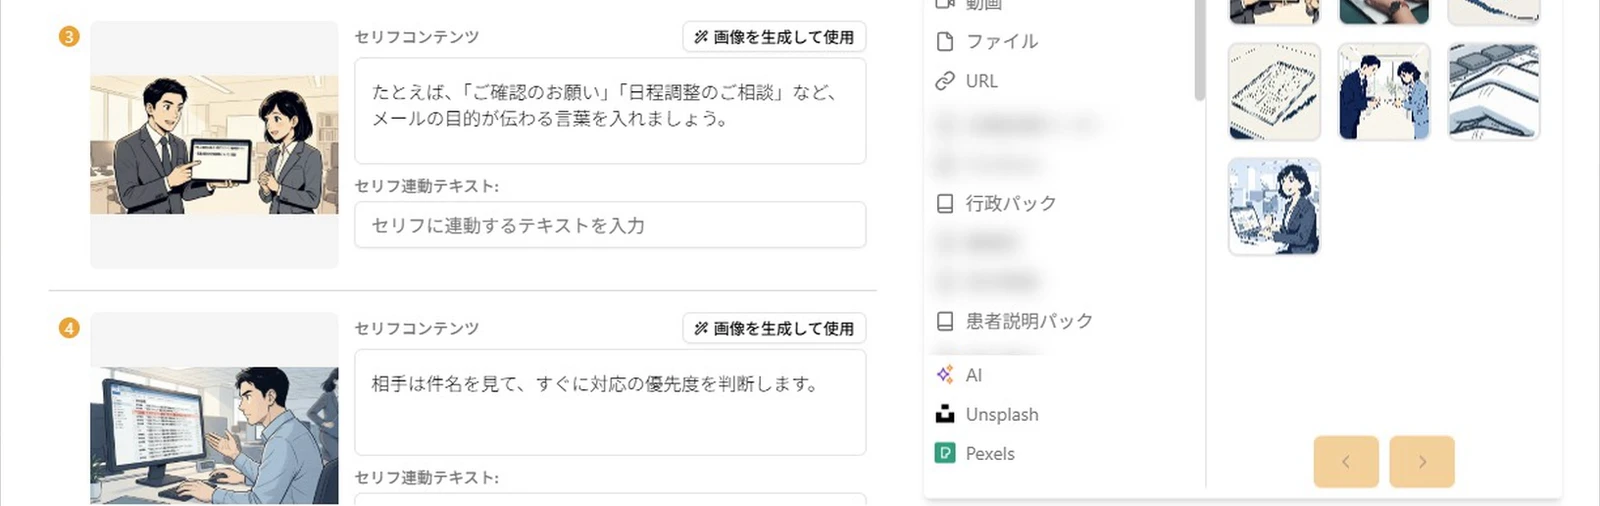
When it is finished, use "Export video" (動画の出力) at the right end of ⑤ to publish it as a URL or export it as MP4.
4. By what you want to do: where do you go?
| What you want to do | Area |
|---|---|
| Choose or reorder scenes | ① Left |
| Revise lines, check readings | ② Center |
| Change the presenter or voice | ② Center (the face icon to the left of a line) |
| Add images, charts or quizzes | ③ Tabs on the right |
| Play it all back to check, choose background music | ④ Bottom |
| Decide which image to show for each line | ⑤ Top bar |
| Send it as a URL, make it an MP4 | ⑤ "Export video" (動画の出力) at the right end |
| Revise it together with others | ⑤ "Export video" (動画の出力) at the right end |
Once you know what the 5 areas do, you can finish training and guidance videos as if you were revising text and slides.